
Rice wine: Most potent Brew to Brew?
- Chinmay Nayak
- Dec 11, 2022
- 6 min read
Updated: Jan 16, 2023

Makgeoli: A Korean Rice Wine
History of Rice Wine
There are records that rice wine was first brewed in ancient China at least 3000 years ago. Apparently, nearly everything ever written or recorded in some form before Emperor Qin Shi Huang's reign was burnt or destroyed. Thanks to him, it's almost impossible to trace the origin of rice wine.

Bronze pots containing Rice Wine discovered in sprawling 2,000-year-old tomb. Henan, China
Though called wine, Rice wine is not actually wine but a type of beer since it's made from rice which is a cereal grain and not fruit. The term wine was most likely attached due to the fact that it contains overwhelming amount of alcohol anywhere between 10% to 20%. Just like with many higher ABV beers that falls in the category of Barley Wines, maybe the name Rice Wine was coined by westerners in someway to warn the drinker of its deceptively high alcohol content.
Rice wines come in a lot of different guises. Chinese traditional rice wines, Japan's Sake and Korea's Makgeoli are more globally known. But there are hundreds of varieties of rice wine brewed all over Asia. Even in India there are several traditional Indian rice wine varieties such as Judima from Assam, Lugdi from Himachal Pradesh and Hadiya from Odisha among few.

Chhaang: A rice wine from Nepal is served hot in a bamboo cup
Rice wine is very unique to other alcoholic beverages in regards to how it's fermented. Almost all other alcoholic beverages are produced exclusively using yeast. This further narrow down to just two strains of yeast mostly; Saccharomyces Cerevisiae and Saccharomyces Pastorianus. In the case of Rice Wine, fermentation is initiated by mold. A rice wine starter is much more complex though. There are many strains of molds, yeast and bacteria which come into play at different stages of fermentation and aging.
Mold produces enzymes that break down the starch and protein in rice into simple sugars, flavonoids and acids. Sugar is then utilized by yeast to produce alcohol. Bacteria reacts with both sugars and starches to produce acids and complex flavors. Over many months if the wine is left at room temperature in the presence of oxygen, acetobacters slowly start converting the alcohol into acetic acid. That's how Rice Wine Vinegar is born. Isn't it magical how rice completely transforms it's self through different stages of its existence?
Rice Wine Recipe
ABV: 15%
Batch Size: 9 liters
Ingredients:
1 Pack of Rice Wine Yeast
1 pack of Brewing salts
1 pack of Wine Fining
In my opinion, a simple rice wine is the easiest alcoholic beverage to make. It's also more than rewarding with its sweet-sour fruitiness and more than adequate alcohol content. Owing to its gluten free nature and probiotics rice wine is gut friendly when compared to beer.
Let's look at the process of making rice wine in three parts.
Part 1: Cooking the Rice
When making rice wine, always use glutinous rice, which creates better flavors and higher alcohol. High alcohol content is important, Alcohol works as a preservative, bringing other micro organism activity down and so the wine doesn't become too sour.
1. Rinse the rice: Measure out 2 kg of rice in a bowl. Then rinse the rice several times in a larger bowl until water runs clear.
2. Soak the rice for at least two hours, preferably overnight. Then use a strainer or sieve to strain the rice and remove the water. Boil 2 liters of RO water separately and let it cool in a closed container.
3. Pour 6 liters of RO/Distilled water in the bottom of a steamer. Add brewing salt mix and bring it to a boil. (If you don’t have a steamer, you can simply boil rice in a large pot with 5 liters of RO water.)

A Steamer with Boiling pot
4. After the water begins to boil, place the rice in the top compartment of a steamer and let it steam for around 25 minutes.
Optional: If you don’t have a steamer, put rice in a cotton sieve, I like to use old cotton pillow covers for the purpose. Place the sieve of rice on a false bottom of any kind (I use an Atta channi/charni/strainer placed upside down in the pot), making sure that the rice doesn’t touch the bottom of the pot and get scorched. Cover the pot with a lid and steam for 25 minutes.
Top compartment (if you don't have a steamer, just use a chhanni upside down at the bottom of the pot to separate rice from bottom of the pot)

Top compartment with sieve and rice
5. Check if the rice has finished steaming. After 25 minutes taste the rice. If it is still hard, use a long spoon to flip the rice over and let it steam more, checking every 5 minutes to see if it’s done. Make sure not to overcook the rice and turn it into a pulp. Once the rice has finished steaming, remove it from the heat.
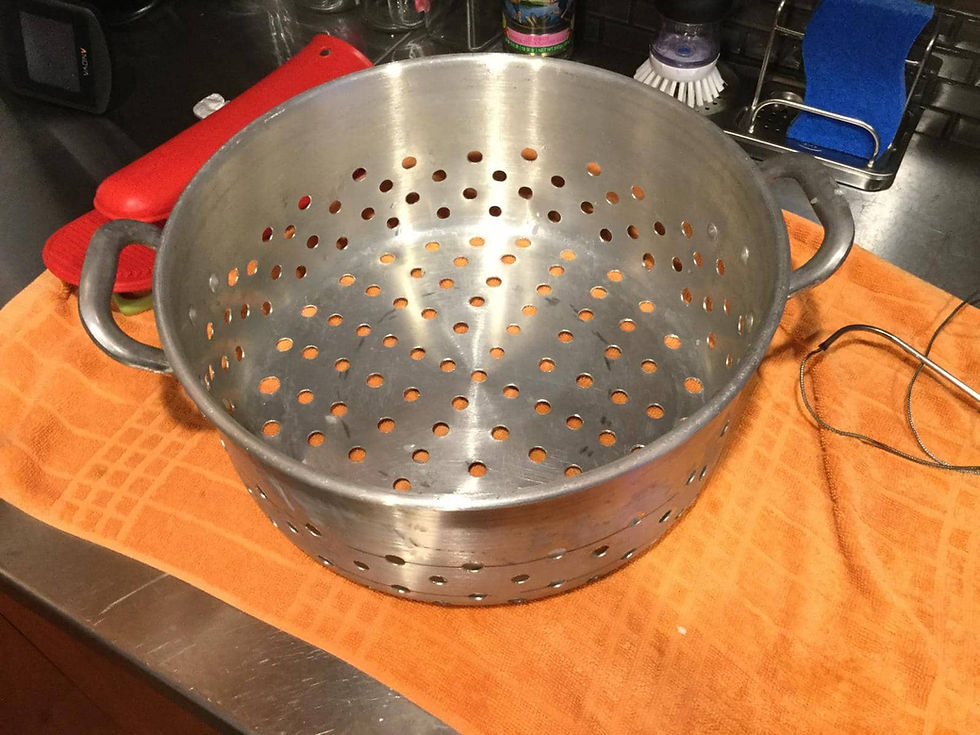
6. After the rice has finished steaming, spoon it out onto a cooking sheet or a sanitized tarp or a plastic sheet. Spread it in a thin layer to help it cool. You can keep mixing the rice under a fan to help it cool quicker. It’s essential to let the rice cool to room temperature before beginning the fermentation process. Spreading the rice helps it to lose heat rapidly.

Cooling rice in a colander
Part 2: Beginning Fermentation
1. Combine the koji, yeast and the rice: Sprinkle both koji and rice wine yeast over the rice. Toss using your hands or a spoon to integrate and combine them with the rice.

Mixing rice and starter with hands on a sanitized tarp
2. Transfer the rice in a sanitized airtight jar or container, or several of them depending on what you have at hand. I like to roll large balls of rice and toss them in my glass jars. Pour two liters of previously boiled and cooled water on the top. Close the lid but don't tighten it all the way, so that the CO2 generated during fermentation can escape.

Jar's mouth is covered with a plastic wrap and a metal lid is placed to keep bugs and vermin away
3. Keep the rice in a warm place (27°C to 34°C) but away from sunlight for the first 5 days. You can simply place a heating pad around or under the jar in winter months. The heat helps to encourage the process of fermentation. For the first 5 days open the jar once everyday and and mix the content thoroughly.
4. After a few days, you should notice clear liquid accumulating at the bottom of the container. This is rice wine. As the fermentation continues you will notice more rice dropping to the bottom. By the time the wine is ready about half of the rice should have dropped to jar bottom.

Wine accumulating at the bottom
5. Let the wine ferment at room temperature (21°C to 23°C) after the initial 5 days. Ferment it for upto 10 days more. You will notice that the longer you ferment your wine, the clearer and less cloudy it will become. Also, expect it to get more sour and less sweet over time. Also some of the alcohol starts converting in to vinegar and aldehydes if fermented for longer than 20 days.


Various fermentation stages of Rice Wine
Part 3: Straining the Rice Wine
1. When you feel the wine tastes best for your liking, it's time to strain the wine. Use a piece of cheesecloth or a strainer (Again I like to use an aata chhanni) to strain the wine, and collect the liquid in a jar . Add boiled and cooled water to bring it to 9 liters.

2. After you have collected your rice wine in a jar, place it in the refrigerator. Although you can drink rice wine at room temperature at this time, storing it in the fridge helps to clarify it.
3. Personally I just bottle the wine right after straining and refrigerate until use. To my taste the opaque wine tastes sweeter and fruiter than clarified ones. But you can clarify it if you want in the next steps.
4. (Optional) A few days after you put it in the refrigerator, you should notice that a layer of white sediment forms at the bottom of the wine container as the top of the container starts to clear. It is not necessary to remove this sediment since it is a type of milky rice wine called "Takju", meaning "opaque wine". If you like you can separate both types of wines to separate airtight bottles after clarifying it in the fridge for 2 days. You can also help the fining of wine by using wine fining. In which case sediment collected at the bottom need to be discarded. Add fining powder to 100ml of boiled and cooled water. Let it sit for 2 hours. Then stir it vigorously and add to the wine. Gently stir wine to mix it and close the lid again. Give it 48 hrs. to clarify.

Partially cleared Rice Wine
5. It's time to bottle your wine. It's best stored in empty beer bottles with crown caps. You should store the bottles in fridge. That way it lasts longer and matures.
6. Enjoy your wine. Keeping your wine in the fridge for few weeks helps alter and mature the flavor. Don’t worry if you see the wine becoming darker the longer you age it; this is perfectly normal. Enjoy a glassful for a delicious departure from the usual grape-based wine. You can also use the wine in savory dishes, desserts, or for cooking your favorite Asian dish.
Happy homebrewing!


Comments